Shop
keyboard_arrow_downPERFECT O&J MANI AT HOME
After doing thousands of manicures in our salons, we wanted to share everything we’ve learned and bring the Olive & June experience to everyone, everywhere. It all comes down to these five totally do-able steps to give yourself a salon-quality mani from the comfort of your own couch.
Before you get started, make sure you have your nail polish remover, clipper, file, buffer, polish, top coat, and clean up brush. Make yourself comfortable and be sure you have a flat surface to work on. Some of our favorite set ups at home are at the kitchen table, on the couch with a book in front of the TV, and at a desk while FaceTiming a friend for a mani date.
OK! Here we go!

1. PREP: Always start with clean nails.
One of the biggest differences between a salon mani and an at-home mani is the prep work. The first thing to do is remove any old polish with nail polish remover. We like a polish remover pot because it’s fast and zero-mess, but there lots of options from the classic polish remover and cotton ball combo to pre-packaged single-use wipes. Using a polish remover first also rids the nail of excess oil, leaving a drier base, which helps polish stick and last.


2. SHAPE: Clip and file.
Our manicurists use a 90/10 rule: 90% of the shaping work is done with your nail clipper; 10% is done with the file. First, use flat edge nail clippers to cut your nail into the shape you would like. We use this style of clipper in the salon because it delivers any shape you want. Then, gently smooth out the edges with your file. If your nails are ridged or appear uneven, buff the top or sides gently so you have a uniform canvas for your polish.

3. TRIM: (hangnails only!) and buff cuticles.
Let’s show our cuticles a little love, shall we? Some people cut cuticles, but we’ve seen that when you take good care of them, there’s no need to clip them away. If you have glaring hangnails, carefully trim them using your nail clippers. No need to get aggressive here. Using your buffer, gently glide the fine grit back and forth along the edge of the cuticle to erase any dry skin and smooth things out. If you really, really, really want to cut your cuticles, leave it to a salon pro.


4. POLISH: Paint, Dry; Paint, Dry; Top Coat, Dry, Dry, Dry.
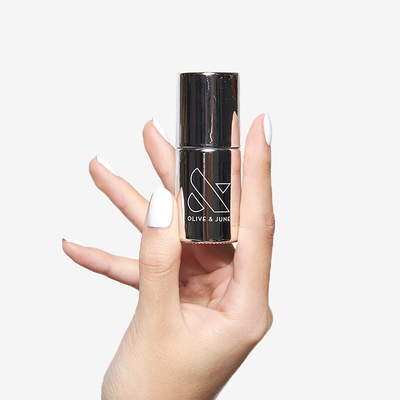
The first part of painting your nails is actually getting comfy. We recommend sitting down in a place where you have a flat work surface. Open your bottle of color and check the consistency of the polish. Make sure it’s smooth and uniform, not clumpy or separated. To apply your first coat of polish, start by a center swipe of polish, then swipe on either side. You should be able to cover the average nail plate in three strokes. Repeat on each nail. Let dry for at least 2 minutes before applying your second coat of polish. Seal your nails with a top coat to maximize shine and protect your polish from chips and dings.

If you’ve gotten any nail polish on your cuticles or fingertips, use a clean up brush dipped in nail polish remover (or even your nail polish remover pot) to remove any unwanted color or to clean up polish lines.

6. SHINE: Finish with cuticle serum around each nail.
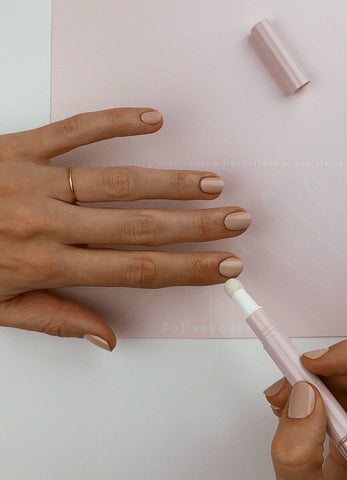
Once your top coat has fully dried, apply cuticle serum to make your mani shine. Cuticle serum is our must-have, can’t/won’t/don’t-leave-home-without-it product. You could have zero polish on and give your cuticles a dose of cuticle serum and it would add instant luster.


