

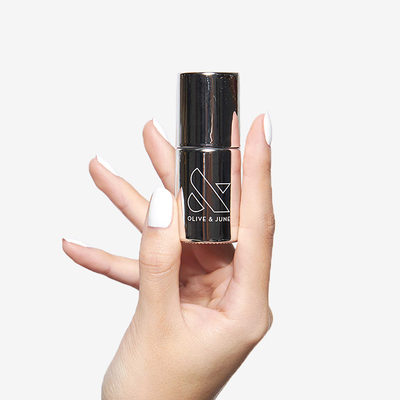


What’s a dip mani?
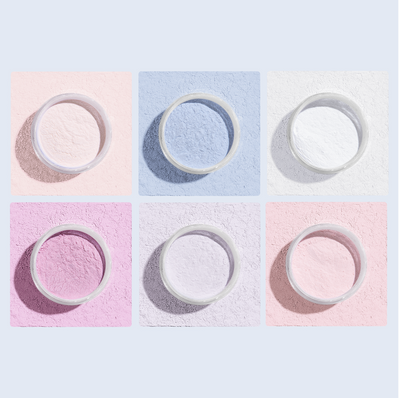
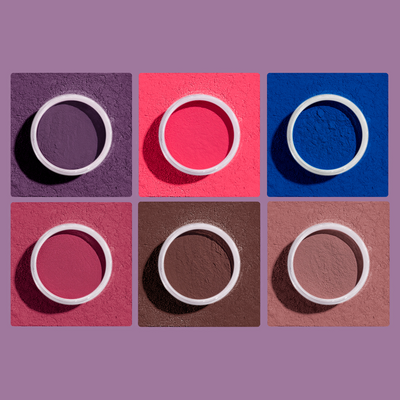
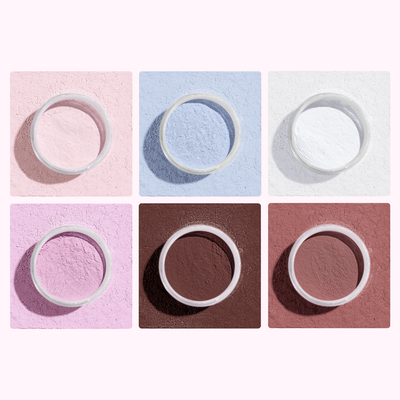
Dip manis are long-lasting, strong and smooth. Instead of painting your nails with traditional polish or gel, dip manis are applied by dipping your nails into a pot of powder.
Dip manis dry cure almost instantly, giving you long-lasting color without needing to use a lamp.
DIP MANI 101
Get up to 3 weeks of long-lasting color with our non-acrylic, plant-based powder. Our application is mess-free thanks to our dip mat.
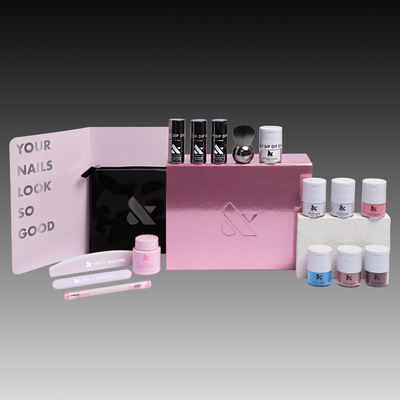
Ready for a perfect dip mani? Everything you need comes in the Dip Mani System, and it’s only 5 steps to a perfect DIY dip mani.
We’ve got our dip mani system, it’s time to mani!
STEP 1: PREP
SHAPE
Clip and file your nails to your preferred shape. We use the 90/10 rule - clip 90% of the way into your desired shape with the clipper, then use the file for the last 10%.
CUTICLES
Apply Cuticle Remover around cuticles and massage gently. Let sit for 5 minutes before gently pushing back cuticles with Cuticle Pusher. Wipe away any Cuticle Remover residue.
BUFF
Buff the surface of your nail and the dry cuticle with the Smooth side of buffer in gentle circular motions to remove dead skin and prep the nail surface.
CLEAN
For the longest lasting mani, make sure to dip each nail in the Acetone Remover Pot to remove any dust or lingering oil.
STEP 2: DIP
Apply a thin coat of Dip Powder Base Coat to upper ¾ of the nail to the tip.
Ensure there is a small gap at the sides of the nails. Avoid getting it on your skin.
Dip nail immediately into Dip Base Powder. Twist your finger gently in the powder, tapping on the container edge to remove excess. If you see any shiny spots, re-dip immediately.
Clean around the cuticle using the Dip Clean Up Tool if necessary.
After 2 minutes, dust off excess. Repeat with remaining nails.
COLOR
Apply Dip Powder Base Coat to the entire nail, avoiding the skin and cuticle. Leave a thin border around the sides of the nail. Dip immediately into Dip Color Powder.
If you see shiny spots, dip again right away.
Tap off excess and immediately clean around the cuticle using the Dip Clean Up Tool. Repeat with remaining nails.
Wait 2 minutes and brush away excess powder.
Repeat with a second coat of Dip Powder Base Coat and Dip Color Powder. Use the clean up tool to immediately remove all excess powder from the cuticle and side walls. Wait 2 minutes and brush away excess powder.
PRO TIP!
-
Dip powder can sometimes build up on the Dip Powder Base Coat brush during application, making it harder to apply smoothly over time. That's why we've included a replacement brush—just swap it in when your original brush needs a refresh.
-
Every few dips, gently fluff the powder with the pointy end of the clean up tool for best results.
STEP 3: SET & SHAPE
Apply an even coat of Dip Powder Activator using no more than 1–2 strokes. Avoid brushing over the same area multiple times. Let dry for 2 minutes. Apply an even layer of Dip Powder Base Coat to the entire nail. Let dry for 2 minutes.
Buff in gentle circular motions and smooth until the surface is matte, smooth and even including the cuticle line and side walls, starting with the "Shape" side and finishing with the "Smooth" side. We recommend at least 30 seconds with each buffer side - the surface should be completely matte and smooth without bumps and should feel smooth to the touch.
PRO TIP!
-
Lightly brush on the Activator to the nail - avoid disturbing the powder surface by pressing too hard.
-
If necessary, the nail file can be used to gently file down the sidewalls. Only file in one direction, not sawing back and forth.
-
Brush away any dust and do a final swipe with the Prep Pad to remove excess.
STEP 4: SEAL
Apply an even coat of Dip Powder Activator using no more than 1–2 strokes. Avoid brushing over the same area multiple times. Let dry for 2 minutes.
STEP 5: SHINE
Apply an even coat of Dip Powder Top Coat over the entire nail.
Let dry for 5 minutes - top coat should feel hard and dry, not tacky.
And that’s it! You have a perfect dip mani!


